Our contribution will focus on these topics:
- 3D Visualization / CGI
- Backgrounds / Environments
- Backplates
If you need further input on CGI, 3D rendering or technical graphics, please read our BLOG article "What is CGI" or alternatively our REPORT "3D Content Creation" (in german). There you will find basic techniques and background information about digital image production.
As mentioned above, there are several ways to provide products with backgrounds. The easiest one is the white background. The product is rendered with a white background, ideally with a shadow and the rendering is finished. These images are quite handy, because you can place them on white pages, so to speak, already exempted. You have to be careful with the shadow, though, so that it is not cut off by the edge of the image. If this is the case, you can immediately see that the image was not produced correctly. As easy as it is to display products on a white background, it can look boring.
3D Rendering of a motor cut © Porsche AG
A further measure is the integration of a floor or a room boundary, so that you get a bit of a feeling of space.
Rendering of a motor cut © Porsche AG
As you can see in our picture example, you immediately have a more realistic understanding of the placement of the motor. By the reflection on the ground you get a bit more depth and can read the picture better. But the picture still does not have a background. Developing this will be a bit more complex.
There is the possibility to model a virtual background to make the product look like a clean, reduced environment.
Machine in reduced, virtual environment © SHW
On this picture you can see a very large machine integrated into a virtual hall. The product appears neatly located, sits on the floor (here even integrated into the floor) and you have a spatial idea. But this is not yet photorealistic.
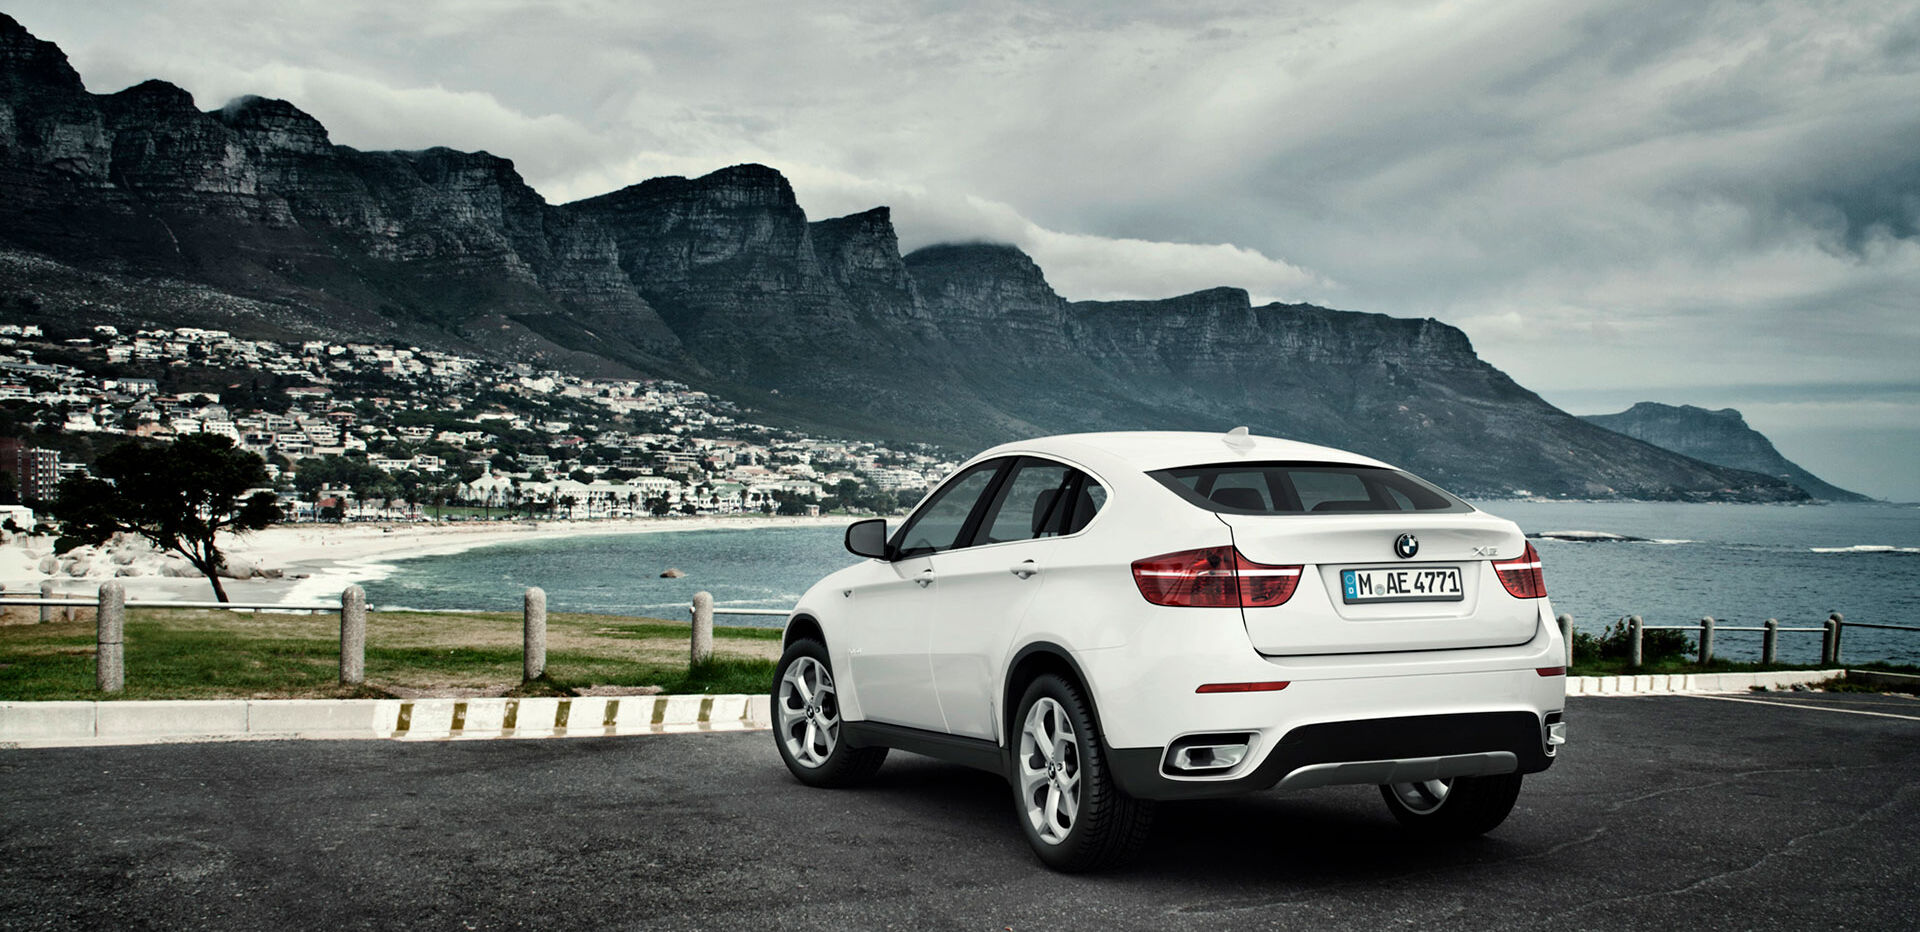
For a photorealistic image, two more pictures have to be taken. Ideally, the background in which the product is to be integrated is photographed. In addition to the background, the 3D model must also be illuminated. If you want to make this realistic, the lighting must be photographed on site. For this purpose, a high-resolution photo is taken with a 360° camera, which is used in the light of the 3D program. The nice thing about this is that this way you get a very differentiated lighting in your 3D scene, which makes the objects look even more realistic. If you also integrate the so-called backplate, i.e. the background, the product appears with the real lighting on site, as if it had been there when the photo was taken. This makes sense for prototypes of vehicles, for example, or for machines that cannot be photographed properly because they are too big.
Virtual 3D vehicle integrated in backplate with on-site lighting
In our picture example, you can see a vehicle rendered on the computer, with the lighting taken on location. Also the background, the backplate, so that the product looks realistically integrated.
If you need more input on CGI, 3D rendering or technical graphics, please have a look at our What's CGI past page. There you will find many techniques about 3D.